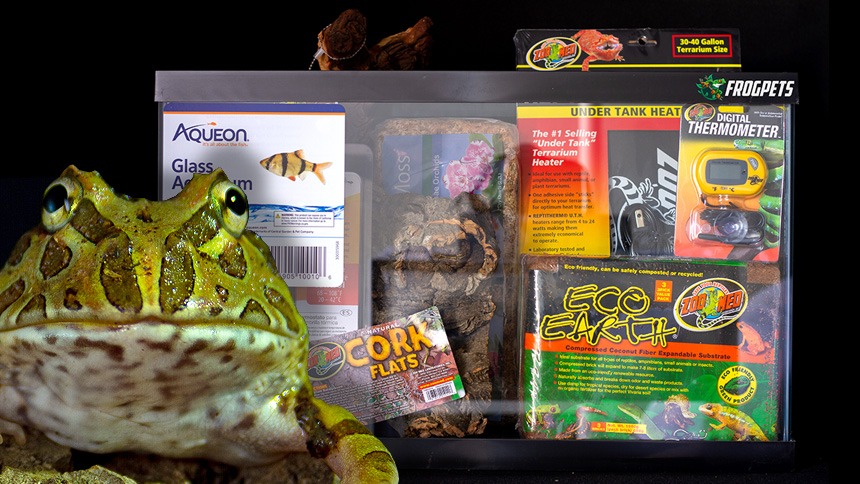
10-Gallon Pacman Frog Habitat Setup Guide (With Pictures)
You don’t have to be an expert to build a quality Pacman Frog Habitat. Notably, you don’t need a gigantic enclosure either!
The surprising thing is how inexpensive (and small) this setup is. Beginners in the amphibian hobby quickly learn how expensive habitats can get. With lighting, heating, and front-opening terrariums; it adds up quick. This one is about as cheap as it gets.
In this habitat setup guide I spent just over $100! And some of that cost can be reduced if you don’t buy as many decorations or have a spare 10-gallon tank laying around.
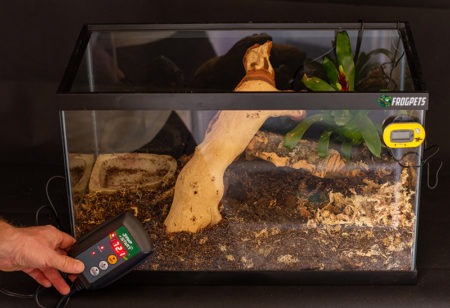
I’ll walk you through all the steps necessary for building this lovely little habitat. At the end of the page, I’ll provide you with a short shopping list of all the items you’ll need!
Page Contents
A Small, Basic Pacman Frog Habitat
In this section I’ll explain what this build is and who it’s for. I’ll also explain what it’s not and why you may want something different!
This is a NOT a bioactive setup!
As the heading says, this habitat is NOT bioactive. A bioactive setup includes microfauna for waste management. This one does not.
Microfauna in a bioactive terrarium includes springtails and isopods. Springtails and isopods survive on biological matter found in soil, wood, and leaf litter. Their presence helps decomposition within the enclosure. It can regulate the pH balance in the substrate.
There is no microfauna in this setup. The soil (substrate) will slowly become more and more acidic as your Pacman Frog urinates/defecates. Because of this, you need to occasionally change out the substrate! Most hobbyists change the substrate every 3 – 4 months.
Opting for a bioactive setup is a good choice but it complicates the setup. You would need a better substrate than the one used in this build, live plants, and a drainage layer. Having live plants requires special lighting suitable for growing plants. The habitat we’re building today does not account for this.
If this sounds like something you would be interested, I encourage you to research the topic! Otherwise, let’s keep going.
Is a 10-gallon tank big enough?
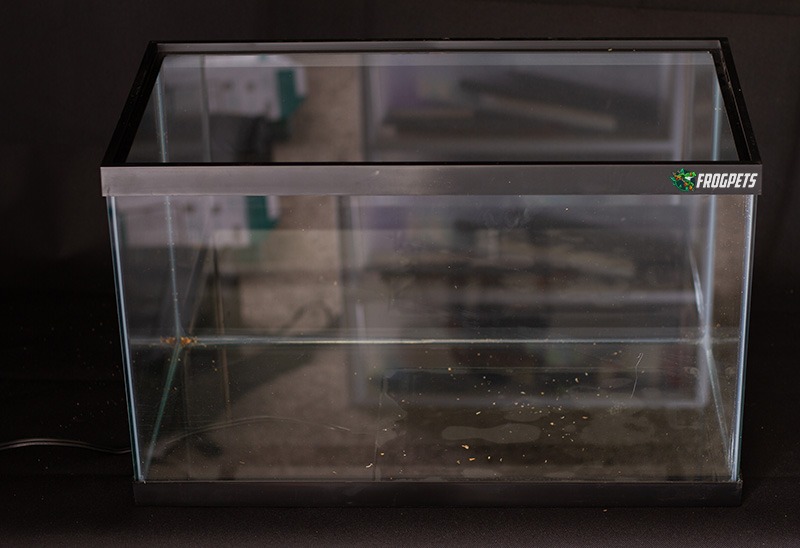
A 10-gallon aquarium (or terrarium) is a little on the small size but acceptable for this species.
I encourage my readers to provide the biggest and best habitats they can. I understand, however, that money doesn’t grow on trees and we’re just doing our best to admire a lovely amphibian.
In this case, especially with a Pacman Frog, a 10-gallon tank is fine. Pacman Frogs are ambush predators. They mostly burrow into the substrate and wait for their next meal. They won’t utilize a giant enclosure the way other frogs do.
Step-by-step Guide (With Pictures) for Setting Up A 10-Gallon Pacman Frog Habitat
Now that I’ve explain what this build IS and IS NOT, it’s time for the directions and pictures.
You need to acquire the supplies before getting starting. Check your local pet stores or buy it online! I’ll include a shopping list with all the items I used for this build at the end of the page.
Step 1.) Apply the UTH (Under Tank Heater)
Pacman Frogs require a day-time temperature of 75 – 85 °F (24 – 29 °C). In order to do this, you can either get a UTH (Under Tank Heater) or a heat lamp. Because this is a small, 10-gallon tank, I opted for a UTH.
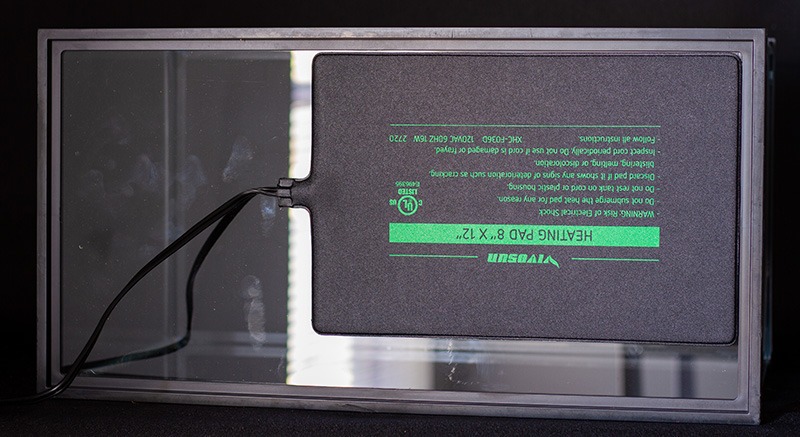
A UTH is designed to be placed on the bottom of a glass tank. There are warnings not to sit these on wood (a wooden desk, for example). The reason for this is because they can get hot enough to skald the surface and potentially worse.
Damage typically comes from large, high-wattage under tank heaters. Regardless, read the instructions on the UTH and use your best judgement.
We will be using a thermostat to regulate our UTH. It comes later in the guide. By the way, don’t worry about plugging in the UTH for now.
By the way, if you’re considering skipping this step, please read our post about why Pacman Frogs need a heater.
Step 2.) Add The Substrate
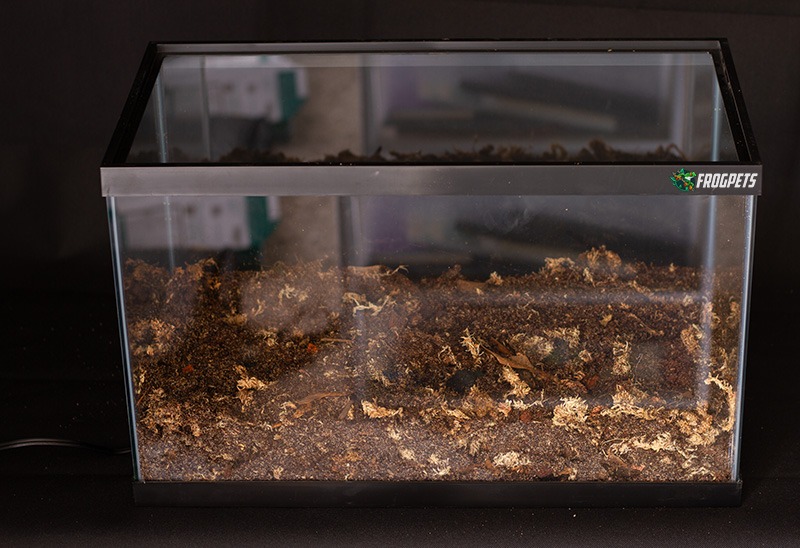
This step involves you filling the tank with substrate. I recommend using a coco-husk fiber substrate; something like Zoo Med’s “Eco Earth”.
For the sake of transparency, the substrate I used is my own blend. It’s similar to an “ABG mix”. I merely used it because I had a tub of it prepared from one of my previous terrariums.
The depth of the substrate needs to be at least 3 – 4 inches. This is important. The reason it needs to be that deep is because Pacman Frogs burrow. Remember, they are ambush predators.
In addition to this, we have a UTH placed on the bottom. Having a shallow substrate depth could cause heat-related issues for your pet.
Step 3.) Branches, Logs, Decorations
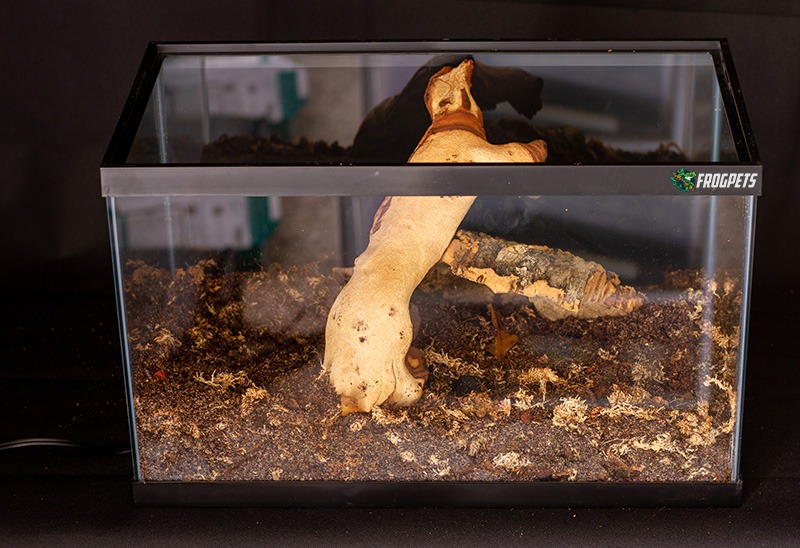
As you can see in the picture above, I added a branch (mopani wood) and a flat piece of cork bark. Your Pacman Frog won’t utilize these for climbing. It’s merely aesthetic.
The flat cork bark can actually serve as a bit of a hiding area. Feel free to get a large cork bark tube or even a “Habba hut”. My son’s frog never hides in them but they look neat to look at.
Step 4.) A Small Water Dish
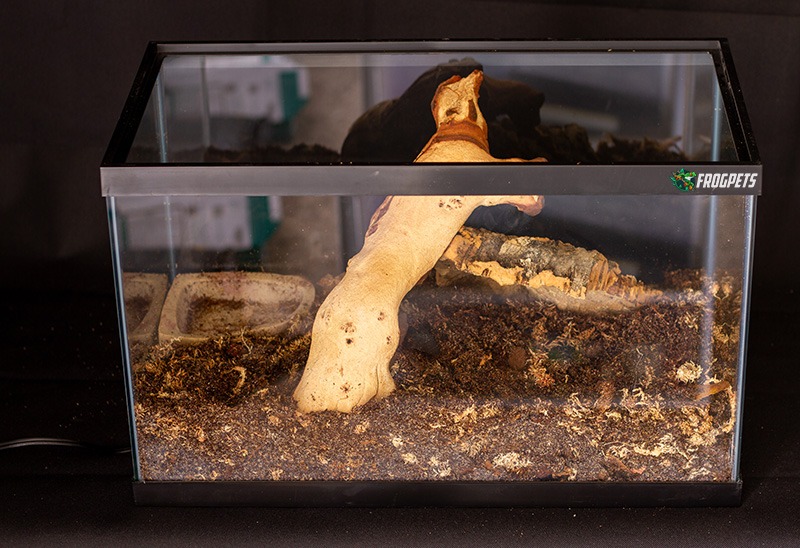
Place a small water dish in one of the corners. Pacman Frog’s enjoy a humid enclosure. They’re happy sitting in damp substrate but if things get a bit too dry, you’ll find them hanging out in a water dish.
For this reason, it’s good to have a small water dish with clean water at all times.
Step 5.) Fake Plants & Moss
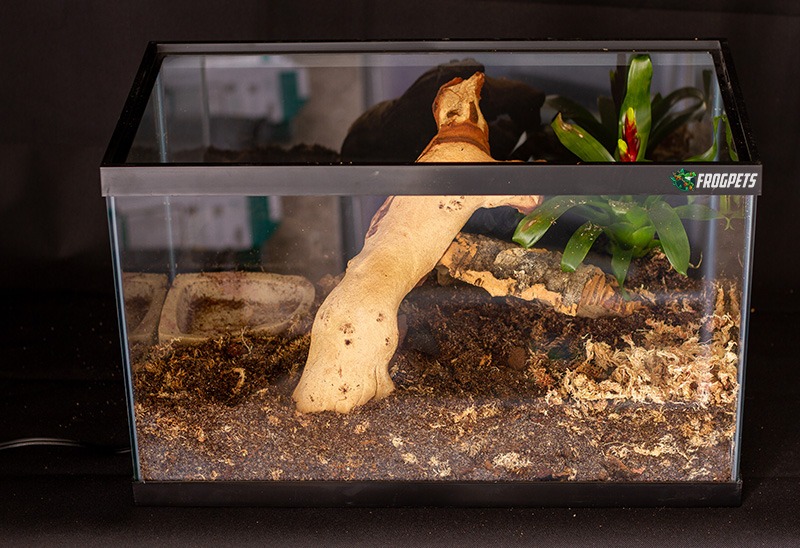
The most important part of step 5 is to add a clump of moss in one of the corners. Moss acts like a sponge by absorbing water. This results in higher humidity within the habitat. Don’t forget, this species enjoys high humidity!
Misting the enclosure daily is required. The moss will help retain humidity in-between misting. I used sphagnum moss.
Adding fake plants is optional, of course. Feel free to add more than one. Because Pacman Frogs burrow, it’s worth noting that placing the plants along the walls is recommended. Basically anywhere your little pet amphibian won’t constantly be knocking over the plants.
Using fake plants in the setup is recommended because the coco-husk fiber substrate isn’t ideal for live plants. In addition to this, many live plants require special lighting for growth!
Step 6.) Place Your Thermometer & Hygrometer
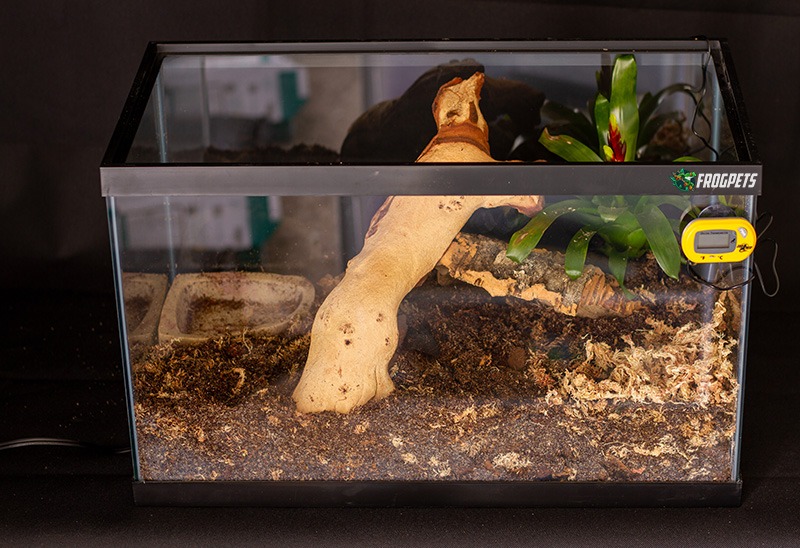
One of the most important tools in frog husbandry comes in the form of a thermometer and hygrometer. A thermometer reads the temperature. A hygrometer reads the humidity.
Keeping the temperature and humidity within the recommended ranges is very important. In order to monitor, you absolutely need to get a quality thermometer/hygrometer!
Exo Terra, Zoo Med, Zilla, and other brands make “combo meters”. These devices, as mentioned previously, read the temperate plus the humidity. It outputs the results on a small, digital display (usually with the option of Fahrenheit or Celcius). They’re inexpensive and worth every penny.
Place the probe in the same corner you have the UTH (under tank heater) in. I placed the temperature probe approximately 1/2 inch below the substrate.
If there is a separate probe for the humidity, I recommend placing it around a plant and above the substrate. When large water droplets come into contact with the humidity probe, it can throw off the reading. This isn’t a huge deal btw. It will gradually dry off and display a proper reading.
Step 7.) Setup Your Thermostat!
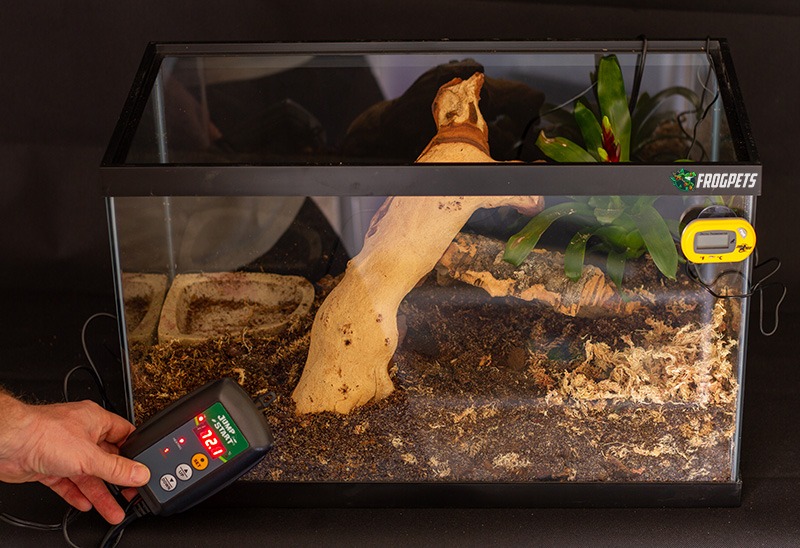
Thermostats regulate the temperature by turning the heating element on or off based the temperature in the enclosure. In our case, the thermostat will shut off the UTH when the temperature gets too hot within the enclosure.
Another great benefit of using a thermostat is that it can protect against malfunctioning heating devices!
Now, this isn’t a guide on how to setup your thermostat but I’ll give you a brief overview.
- Plug the UTH into the power socket on the thermostat.
- Position the thermostat’s probe where you want the temperature reading.
- Plugin your thermostat.
- Using the instructions, program your thermostat to turn off the heating element at the desired temperature.
- Ensure your heating element is now turned of (some have an on/off switch – it needs to be on).
I set the thermostat to turn off the UTH when the temperature reaches 81 °F (around 27 °C).
Step 8.) Mist the Enclosure
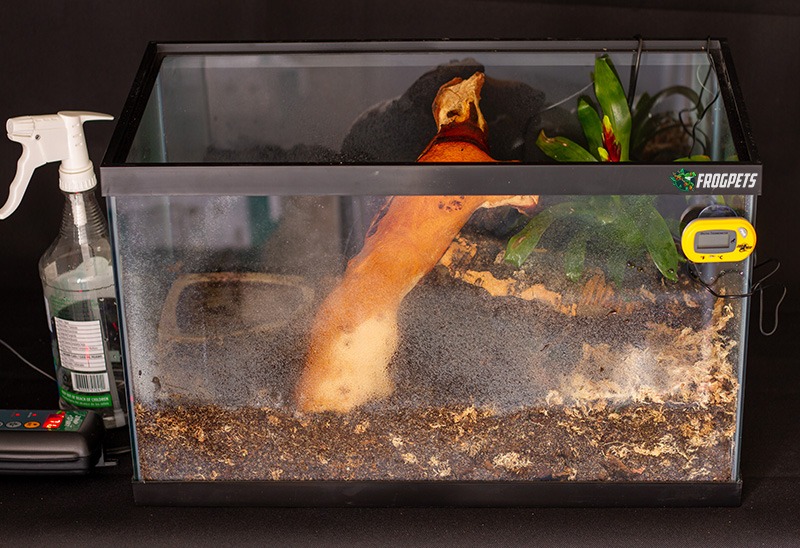
The final step (short of introducing your Pacman to its new home) is to mist the habitat with water. The water you use makes a big impact on the amphibian you’re keeping.
Amphibians have semi-permeable skin which means they easily absorb chemicals through their skin. For this reason, using straight tap water is frowned upon. The reason is because most municipal water supplies are treated with chlorine and/or chloramines.
Chlorine is harmful for amphibians. Because of this, I recommend using bottled spring water, RO (reverse osmosis) water, or simply treating your tap water with a dechlorination agent like ReptiSafe.
Anyway, mist the enclosure so the substrate can absorb some water!
Additional Equipment for Your Setup
This is a cheap, basic build and that’s precisely how I intended it. Depending on your situation, however, there may be more items you need. Read the following to get a better understanding.
- Lighting – Pacman Frogs require a constant day and night cycle. This means proper lighting is in order. It can be avoided if the habitat is placed in a well-lit room with natural light from windows. On the other hand, if you’re placing your pet in a basement or a room with poor lighting, you need to get a light bulb and set it on a schedule to create a day/night cycle.
- Screen Lid – A screen lid will prove itself useful should you need to provide a light. Also, it will come in handy if you decide to put a piece of glass (or plastic) of the top of the tank.
- A piece of glass or plastic – Many Pacman Frog keepers choose to cover half the tank with a piece of glass or plastic. By partially covering part of the tank with a piece of glass (or plastic), it helps trap in humidity. Covering the whole thing, however, is problematic because there needs to be air flow. Don’t cover the top entirely.
Shopping List for this Pacman Frog Habitat
As promised at the beginning of the page, I created a shopping list for all the items I used in this build. Feel free to print this and take it to your local pet store or buy the products online. Each item on the list below is linked to the corresponding item on Amazon.
| Type | Item |
|---|---|
| Tank | Aqueon 10 Gallon Aquarium |
| UTH | VivoSun 8×12 Heat Pad |
| Substrate | Zoo Med Eco Earth |
| Decoration | Cork Bark Flat |
| Decoration | Mopani Wood |
| Water Dish | Corner Water Dish |
| Decoration | Fake Plants |
| Thermometer / Hygrometer | Zoo Med Digital Thermo Hygrometer |
| Thermostat | JumpStart Thermostat |
Alright, my friend! I truly hope you found this guide useful! Should you need help with caring for your new amphibian, please visit our Pacman Frog Care Guide for more information!

Leave a Reply